
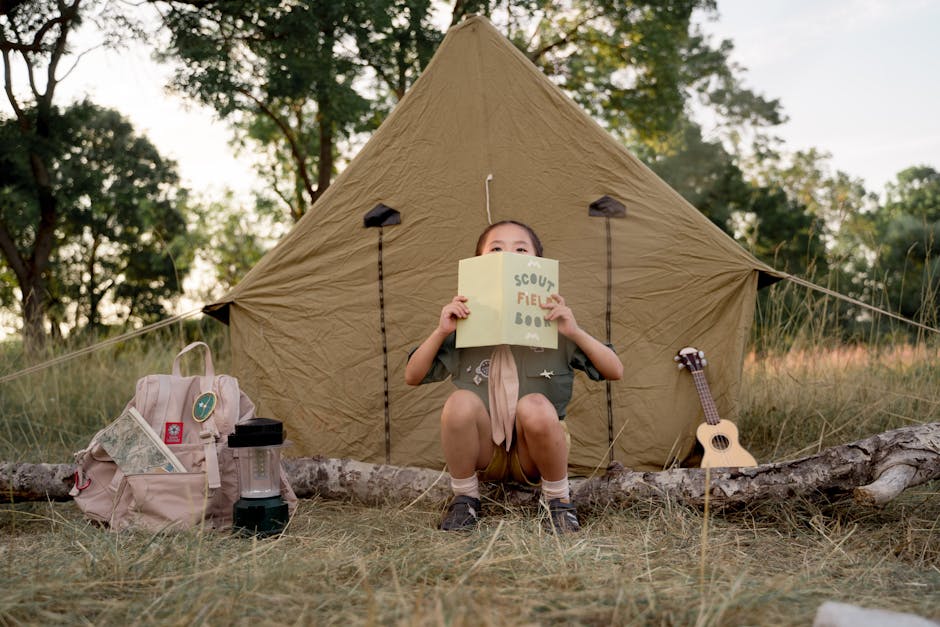
Standing in the gear aisle at REI, staring at a wall of backpacks, sleeping bags, and tiny stoves. It’s a common scene for anyone new to backpacking. The sheer volume of options can feel overwhelming. What do you *really* need? What’s worth the money? How do you even begin to build a reliable kit for your first overnight trip, let alone a multi-day adventure? This guide cuts through the noise, breaking down the essentials you’ll find at REI and offering a clear path to getting outfitted smart, not just extensively.
What to Consider Before Buying Any Backpacking Gear
Before you even pick up a piece of gear, take a step back and think about your typical trips. This isn’t about buying the most expensive or the lightest item; it’s about buying the *right* item for your specific needs. The goal is efficiency and comfort without unnecessary bulk or cost.
Understanding the “Big Three”
Your backpack, tent, and sleeping system are often called the Big Three. These items typically weigh the most and cost the most. They also have the biggest impact on your comfort and safety outdoors. Focus on these first. A lighter Big Three means a lighter overall pack weight, which translates to a more enjoyable hike.
When assessing these, consider their weight. Pay attention to the “trail weight” (item plus essential accessories) versus “packed weight.” For example, a tent might list a low minimum weight, but its full setup with stakes, guylines, and stuff sacks could be significantly heavier. A good target for a beginner’s Big Three is often under 10-12 pounds total, though experienced ultralighters can get much lower.
Trip Duration and Climate Factors
Your gear choices will drastically change based on where and when you plan to hike. A summer overnight in Southern California requires very different equipment than a shoulder-season trip in the Pacific Northwest. Ask yourself:
- How many days will you be out? This impacts food, water, and fuel needs, which then dictates backpack capacity.
- What are the expected low temperatures? Crucial for sleeping bag temperature ratings. A bag rated for 20°F is overkill for 50°F nights and not enough for 0°F.
- What kind of precipitation is likely? Rain means you need a truly waterproof tent and rain gear, not just water-resistant.
- What’s the terrain like? Rocky trails might suggest more durable footwear, while well-maintained paths allow for lighter options.
Always research the specific conditions of your planned route. Websites like AllTrails or park service pages often provide up-to-date information on weather patterns and trail conditions.
Budgeting for Your First Setup
Backpacking gear can be expensive, but you don’t need to break the bank. REI offers gear at various price points, including their own reliable REI Co-op brand. A smart approach is to prioritize the Big Three and footwear for quality, then look for more budget-friendly options for smaller items. For instance, a quality backpack and a comfortable sleeping bag are worth the investment. You can often save money on cooking pots by using a simple titanium cup, or on a rain jacket by opting for a less feature-rich but still effective model.
The Core Four: Backpack, Tent, Sleep System, and Water Filter
These four items are the foundation of your backpacking kit. Getting them right sets you up for success and comfort on the trail.
Backpack Capacity and Fit
Choosing the right backpack is . A poorly fitting pack leads to discomfort, chafing, and fatigue. REI staff are excellent at helping with pack fitting, so take advantage of their expertise. They’ll measure your torso length and hip circumference to ensure the pack’s frame aligns correctly with your body.
Capacity is measured in liters. Here’s a general guide:
- 30-50 Liters: Ideal for ultralight overnights or very short, warm-weather trips.
- 50-65 Liters: The sweet spot for most weekend to 3-day trips. This is often the best starting point for beginners.
- 65-80+ Liters: Suitable for longer trips, winter camping, or carrying extra group gear.
Look for features like good hip belt padding (most of the weight should rest on your hips, not shoulders), adjustable shoulder straps, and compression straps to cinch down your load.
Shelter Options: Tents vs. Tarps
For most beginners, a reliable tent is the way to go. It offers full protection from bugs, wind, and rain. When choosing, consider:
- Weight: Aim for a 2-person tent under 4-5 pounds. The REI Co-op Half Dome SL 2+ Tent (around $379) is a popular, durable option for two people.
- Season Rating: Most backpacking tents are 3-season, suitable for spring, summer, and fall. Winter camping requires a heavier 4-season tent.
- Freestanding vs. Non-Freestanding: Freestanding tents are easier to pitch anywhere. Non-freestanding (like many trekking pole tents) rely on stakes and trekking poles for structure, saving weight but requiring specific pitch spots.
Tarps are much lighter but offer less protection and require more skill to set up effectively. They’re typically for experienced ultralight backpackers.
Sleeping Bag Temperature Ratings
Your sleeping bag needs to match the coldest temperatures you expect. Ratings are usually given as a comfort limit (the temperature at which the average person will be comfortable) and a lower limit (the temperature at which you can survive without hypothermia). Always pick a bag with a comfort rating slightly below your expected lowest night temperature.
| Temperature Rating | Ideal Use Case | Fill Type | Typical Cost |
|---|---|---|---|
| 40°F (4°C) | Warm summer nights | Synthetic | $100 – $200 |
| 30°F (-1°C) | Late spring, early fall, mild summer | Synthetic / Down | $150 – $300 |
| 20°F (-7°C) | General 3-season backpacking, cooler nights | Down | $250 – $450 |
| 0°F (-18°C) | Cold 3-season, mild winter | Down | $400+ |
Down insulation offers the best warmth-to-weight ratio but loses insulating power when wet. Synthetic insulation is heavier and bulkier but retains warmth even when damp, often at a lower cost. If you backpack in consistently wet environments, synthetic might be a safer choice.
Water Filter Systems
Reliable water purification is non-negotiable. Don’t rely on carrying all your water; it’s too heavy. Modern filters are lightweight and efficient.
- Squeeze Filters: Small, light, and effective. The Sawyer Squeeze Filter (around $39) is a community favorite. You simply fill a pouch with dirty water and squeeze it through the filter into a clean bottle.
- Gravity Filters: Great for groups or camp use. You fill a dirty bag, hang it, and gravity does the work. Brands like MSR and Platypus offer good options.
- Chemical Treatments: Backup option. Iodine or chlorine dioxide tablets (e.g., Aquamira, Katadyn Micropur) are lightweight but take time to work and can leave an aftertaste.
- UV Purifiers: Devices like SteriPEN use UV light to kill pathogens. Fast but rely on batteries and don’t remove particulates.
Always carry a backup method. A small bottle of purification tablets takes up almost no space and can be a lifesaver if your primary filter fails.
Mastering the Art of Backpacking Food and Cooking
Food is fuel, but it’s also weight. Learning to plan and prepare meals efficiently can significantly lighten your load and improve your trail experience. This isn’t just about calories; it’s about making smart choices that are both nutritious and packable.
Meal Planning for Weight and Nutrition
The key to backpacking food is a high calorie-to-weight ratio. Think about dense, dry foods that don’t spoil easily. Avoid anything with high water content unless you’re starting a trip and plan to eat it quickly. Fresh fruit is nice for the first day, but beyond that, it’s just heavy.
- Breakfast: Instant oatmeal packets, granola with powdered milk, dehydrated eggs.
- Lunch/Snacks: Tortillas or bagels (less squishy than bread), hard cheese, salami, nuts, dried fruit, energy bars, jerky. These are usually eaten on the go, requiring minimal preparation.
- Dinner: Dehydrated meals (many brands available at REI), pasta sides, couscous, instant mashed potatoes with added protein (e.g., tuna packets, dehydrated chicken).
Consider portion sizes carefully. Overpacking food means carrying unnecessary weight; underpacking means running out of energy. Aim for roughly 2,500-4,000 calories per person per day, depending on activity level and individual metabolism.
Essential Camp Kitchen Gear
You need a way to cook, but it doesn’t have to be complicated. For most trips, a simple, lightweight system works best.
- Stove: A small canister stove like the MSR PocketRocket 2 (around $59) or a more integrated system like the Jetboil Flash (around $124) is efficient for boiling water quickly.
- Fuel: Match your fuel type to your stove. Canister fuels are common. Plan for about 4 oz of fuel per person for a 3-day trip if you’re only boiling water for rehydration.
- Pot: A single lightweight titanium or aluminum pot (700ml-1.5L) is often sufficient for 1-2 people.
- Utensil: A long-handled spoon is perfect for eating out of dehydrated meal bags.
- Mug/Bowl: Often a single mug doubles as a bowl.
- Lighter/Matches: Always carry two methods for lighting your stove.
Consider a “cold soak” method for ultralight trips, where you rehydrate food in a jar with water, eliminating the need for a stove and fuel. This works well for couscous, ramen, and instant mashed potatoes.
Leave No Trace Principles for Food
Packing out everything you pack in is a fundamental rule. This includes all food scraps, peels, and wrappers. Even biodegradable items like orange peels can take years to break down and attract wildlife. Use a dedicated trash bag. Hang your food at night, or use a bear canister where required, to protect it from animals and protect animals from becoming habituated to human food sources. Remember, fed animals are dead animals.
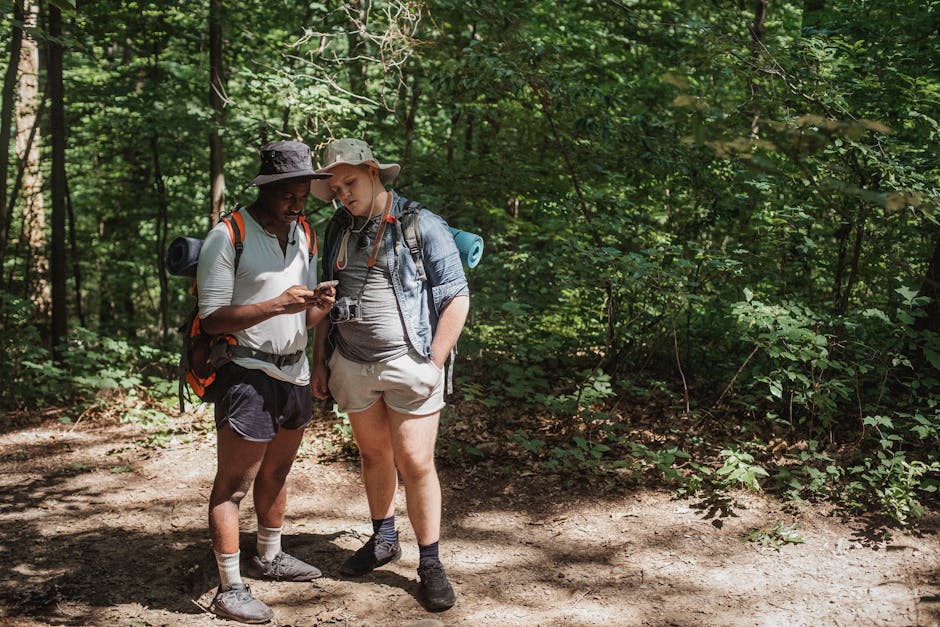
Navigation, Safety, and First Aid Essentials
Being prepared for the unexpected is crucial in the backcountry. Proper navigation tools, a well-stocked first aid kit, and a plan for emergencies can make the difference between a minor setback and a serious problem.
Do I really need a dedicated GPS?
While smartphone GPS apps are powerful, relying solely on your phone for navigation can be risky. Batteries die, screens crack, and signals drop. A dedicated GPS device offers superior reliability, battery life, and durability in harsh conditions.
However, the most fundamental navigation tools are a physical map and a compass. Learn to use them *before* you hit the trail. Apps like Gaia GPS or AllTrails are excellent for planning and as a secondary navigation tool, but always download offline maps. Carry a portable power bank to recharge your phone if you plan to use it extensively for navigation or photos.
What should my first aid kit include?
Your first aid kit should be tailored to the length and remoteness of your trip. A basic kit, often available pre-assembled at REI, should cover:
- Bandages (various sizes)
- Gauze pads and medical tape
- Antiseptic wipes and antibiotic ointment
- Pain relievers (ibuprofen, acetaminophen)
- Antihistamines (for allergies, insect bites)
- Moleskin or blister treatment
- Tweezers and small scissors
- Personal medications
- Gloves
Consider taking a wilderness first aid course. Knowing how to use the items in your kit is more important than just having them.
How do I plan for emergencies?
Preparation is key. Always tell someone your itinerary: where you’re going, your route, when you expect to return, and who to call if you don’t check in. This is called a “trip plan.”
Carry an emergency communication device, especially if you’re going into areas without cell service. A personal locator beacon (PLB) or a satellite messenger like the Garmin inReach Mini ($399) allows you to send SOS signals and messages even when out of range. These devices are an investment, but they provide a critical layer of safety.
Also, pack a whistle for signaling, a headlamp with extra batteries (even on day trips), and a small emergency shelter (like a reflective bivy sack) for unexpected overnights. The ten essentials list is a great baseline for general safety gear.
My Top Picks for Entry-Level Backpacking Gear at REI
Based on performance, value, and availability at REI, here are some solid recommendations to get you started. These balance quality with a reasonable price point for new backpackers.
Backpack Recommendation: Osprey Rook/Renn 65
For a reliable, comfortable, and well-designed entry-level backpack, I recommend the Osprey Rook 65 (men’s, around $165) or the Osprey Renn 65 (women’s, around $165). Osprey is renowned for its excellent fit systems and durability. These packs offer generous capacity for weekend trips or longer, adjustable torso lengths, and a comfortable suspension system that effectively transfers weight to your hips. They aren’t the lightest packs on the market, but their comfort and features for the price are hard to beat, making them a fantastic starting point for most new backpackers. Plus, Osprey has an excellent warranty.
Sleeping Bag Recommendation: REI Co-op Magma 15
If your budget allows for a quality down bag, the REI Co-op Magma 15 (around $379) is an outstanding choice. It uses 850-fill-power goose down, offering excellent warmth-to-weight. It packs down small and is comfortable down to its 15°F comfort rating. For a synthetic option that’s more budget-friendly and performs well in damp conditions, the REI Co-op Trailbreak 20 (around $139) is a solid pick. It’s heavier and bulkier than the Magma, but offers reliable warmth and durability for a fraction of the cost.
Water Filter Recommendation: Sawyer Squeeze
Without a doubt, the Sawyer Squeeze Water Filter (around $39) is my top recommendation for water purification. It’s incredibly lightweight (3 ounces), durable, and filters water quickly and effectively, removing bacteria and protozoa. It’s also easy to use, attaching directly to a water bottle or a hydration bladder. Its effectiveness and simplicity make it a staple in many backpackers’ kits, from beginners to seasoned thru-hikers. Pair it with a few Smartwater bottles for easy collection and squeezing.
The Golden Rule of Backpacking Gear
The best piece of backpacking gear is the one you actually use and that works reliably for your specific adventures. Don’t get caught up in chasing the absolute lightest or most expensive setup right away. Start with solid, dependable essentials from a trusted source like REI, learn what works for you on the trail, and then upgrade strategically over time.